
What is it about beads?
I find them so beautiful and the process of working with them is so very meditative and relaxing.
They’ve been around for thousands of years, yet they’re still popular – and so they should be.
Beads now come in over 50 varieties – enough to satisfy even this budding beader, that’s for sure.
And I think what I find so mesmerizing, is its ability to utilize colour and texture so easily and quickly.
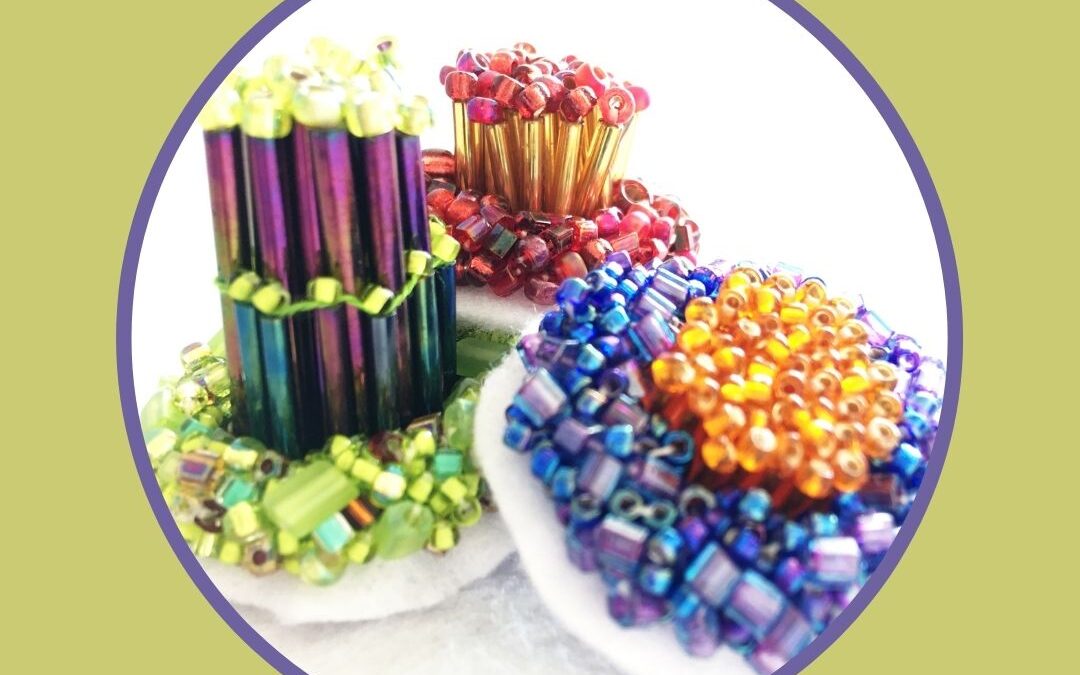
This week I’ve been making these small beaded motifs to include in my new textile piece named Coral. I had previously used some small plastic rings that were pre-stitched, ready for mirror work, but I had to cut away the embroidery simply for the plastic ring. Surely, I could make my own ring.

And as so often happens, when you’re looking for one thing, you find something completely different – I found some beading wire which immediately set my mind to making some small rings.
I don’t know the gauge, but it was fairly thick – thick enough to have to use a set of wire-cutting pliers, not scissors to cut – but it was easy to cut and bend into a circular shape with the help of a pair of tweezers. I’m sure the same could be achieved with a finer wire, wrapped into a circle two or three times.
Watch my YouTube video showing how to make these beautiful, beaded 3D motifs.
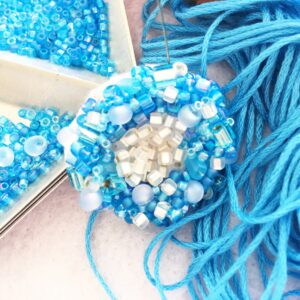
I like to work on simple, white acrylic felt. It works for me, providing a firm-enough base to carry the weight of the beads and the stitching. Plus it doesn’t fray and is fairly easy to source. I am particular about the quality though – as some acrylic felts can be quite patchy and thin. This one has a good firm feel in the hand and an even texture.
Once I had the ring – and let me just say here, it wasn’t a perfect circle, but by the time it’s covered in beads it looks fine – I simply set it on the felt, then used six strands of cotton embroidery floss or a thick Perle thread to blanket stitch around the entire ring to attach it to the fabric. The stitches have to be worked very close, leaving no gaps and ensuring that the beginning and end of the cut wire are well covered. This embroidery forms the base for your beading.
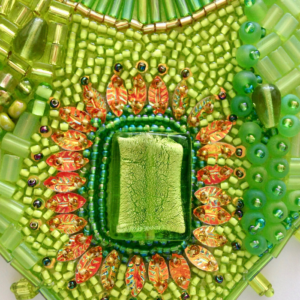
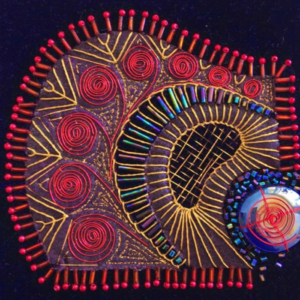
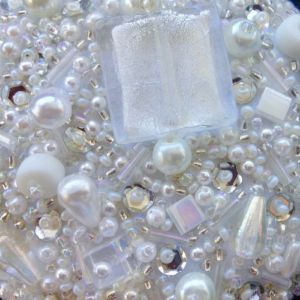
A long, thin beading needle and Nymo thread were used along with a variety of beads. As you can see in some of the images, I like to use contrasting sizes, shapes, and finishes – but in a similar colourway. Then I use a contrasting colour and or shape.
And I have about six of those small, triangular metal bead trays that help make life a lot easier working with beads. They’re lightweight and keep different beads separated – and I’m diligent about keeping my beads stored in small, individual plastic containers. Sauce containers from takeaways or even empty small, glass spice jars make the perfect bead storage solution for me.
With larger, heavier beads you may have to stitch down twice or more to secure, but it takes no time and ensures peace of mind.
I begin with a knot in the thread and take a double stitch as well – just to make sure. To finish I take 3-4 tiny stitches. I’ve read some people use glue on the back of the work to add more support to the stitches, but I didn’t need to do that here.
These small pieces were made as slips, so will be trimmed and attached to my work. Et voila.
So if you’re in the mood to work with some of the stunning embellishments now available, check out your stash of beads, sequins and wire – and you might just be good to go.
The gratification is instant and immeasurable.