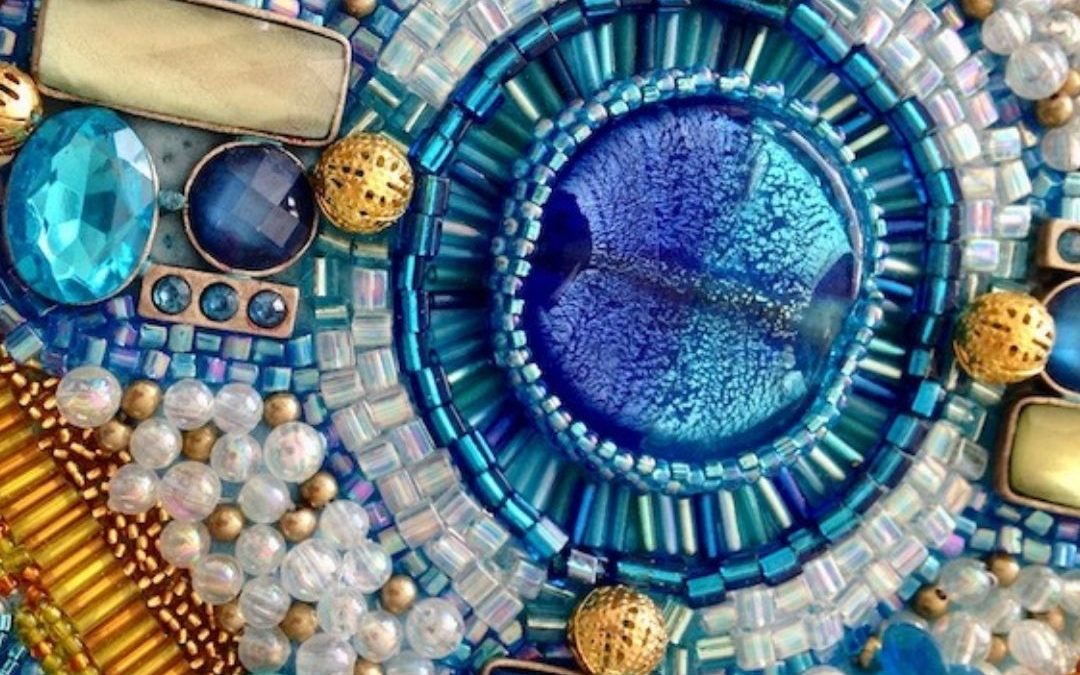
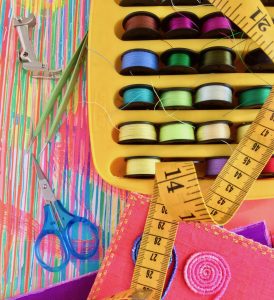
Are you like me and just want to take your own shots of the textile art you make? The shot above is one of my favourites – taken on my iPhone! I am no professional photographer, believe me, but I do know a thing or two about design. I don’t own a camera, but I do have an iPhone and these can take surprisingly high-quality images.
This is a great way to photograph small items of textile art…
Now I’m not talking huge quilts or textiles which require specialised lighting and hanging systems, but smaller works that are particularly suited to flat-lay photography. These could include small art quilts, hand or machine embroidery, beading or mixed-media work. Flat-lay photography is not suitable for any work already mounted and framed under glass.
It’s not too fussy, time-consuming or expensive…
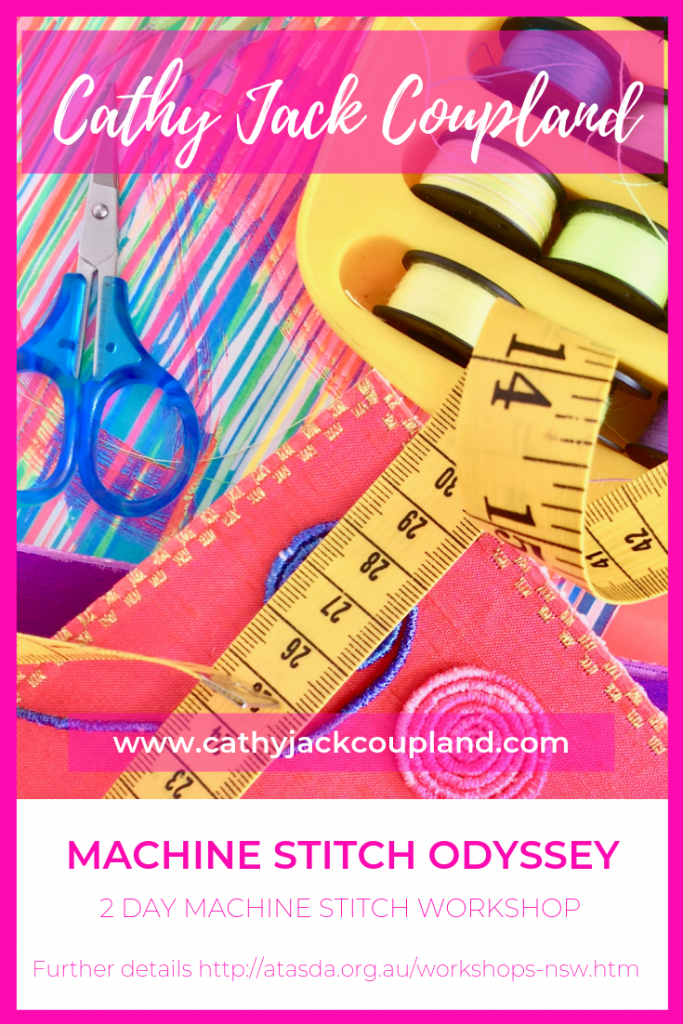
Flat-lay photography is simply where items are laid flat for photographing, with the shot taken from above. It’s the simplest, easiest way I’ve encountered to take a quality shot, without being too fussy, too time-consuming or too expensive. I have a workshop coming up soon, so I’ll share with you some of the processes for the promotional image I’ll be using for that. Here’s my checklist for taking great images of your artwork.
- Learn how to use your iPhone camera features. It seems obvious, I know, but it will make the difference between average images and really good ones. I enrolled in a very simple online course, but there’s plenty of free information available if you want to take the time to go looking for it.
- Use natural light. For all my images I set up near an east-facing window and took my shots in the morning light.
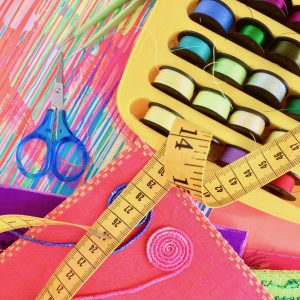
- Gather all the work you need to photograph. ‘Batch shoot’ a number of works on the one day. It will save you time! Organise a photo-shoot day with yourself and voila, job done.
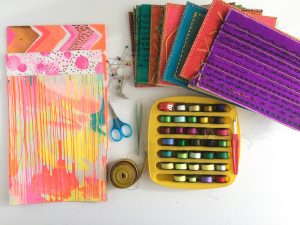
I’ve gathered everything I need for the shot.
- A piece of foam-core board makes a great base to support your work as well as providing an all white background. Mine is 59 x 42cm.
- If there are shadows, consider using another piece of foam-core set up at 90 degrees, on the opposite side of your light source, like a reflector. This is the first time I’m doing this, but it makes sense to me. Just lean it against something sturdy, close to your work. It will not show in your photo.

There’s a foam-core board underneath the work, plus one standing opposite my light source. Schedule a photo shoot day and batch shoot a number of works. This will save you time – trust me!
- Lean over your work and eye-ball the space around the work through your camera lens. I try to centre things top to bottom and left to right, so there’s an even amount of space around the work. You can crop later if needed. Use the grids on your phone as a guide, as well as aligning the two crosshairs, then initiate the auto-lock feature and click.
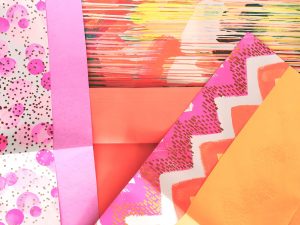
I’ve used eye-catching wrapping paper to help make the background visually interesting. I didn’t know they had a plain colour on the back. Win-win! If you want white, just leave this out.
- Check the image you’ve just taken before you take any more. Is there anything wrong or that you don’t like? If so, change it now.
- When you’re happy with your image, take several more. Keep checking and re-assessing. Don’t stop at just one or two!
- I often use the brightness slider on the side of the focus box to lighten the images slightly.
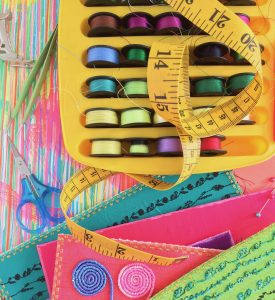
- Now take some detail shots. What’s an interesting point of focus? Is there something you want to particularly highlight in the shot? Try shooting on the diagonal for a real, artistic look. I took 12 shots, to end up with 4 shots I’m happy with.
- Remember to use that auto lock feature!
- Evaluate the photographs you have. I do this on my computer which has a larger screen. I delete those I’m least happy with and continue with the rest.
- Now it’s time to edit. There are a number of free or fairly inexpensive photo editing apps. I use Pic-Tap-Go, Snapseed and Preview. Learn the skill of editing. It will repay you.
- Assess whether your shot needs to be cropped or not. This is where you just have to keep taking shots and taking more shots, till you gain confidence.
- Here’s what I ended up with after cropping and using filters. Which one do you think I went with? Check it out at the end of this post.
- Last but not least, it’s time to name and file your images. If you do this as you go, it’s so much easier. I know this because I’m constantly trying to keep on top of my own images and how I file them.
- Compile a system for that makes sense to you and that you can access easily and remember!
Good on you. You’ve taken your own shots of your beautiful work. Take some more and share them! From me to you, keep going. I’m still learning and refining, but I’ve discovered a real sense of accomplishment using my own images. I just love the whole process. Don’t forget, if you’re interested in hearing more from me and would like to access my Resource Page, just sign up below. The Resource Page will be available very soon. We’re working on it now! ![]()