
Embroidery is one of the most exquisite, visually tactile, decorative art genres.
To do both the world of embroidery and our work justice, I believe we should take the time to photograph our embroidered art with style, flair and pizzaz.
Why not?
Why can’t we use unusual and unique props or the beautiful accoutrements of stitching to help tell a story in an image?
This is our work, why not make it shine?
So with that in mind, I’ve made a short video with some ideas and suggestions to help set the stage, making our embroidered art more theatrical, personable and interesting.
Here are some of my tips and ideas:
- take work-in-progress images of machine work under the needle of your machine – ensure the lighting shows the beauty of those stitches
- take work-in-progress shots of hand embroidery too – tell a story of your work
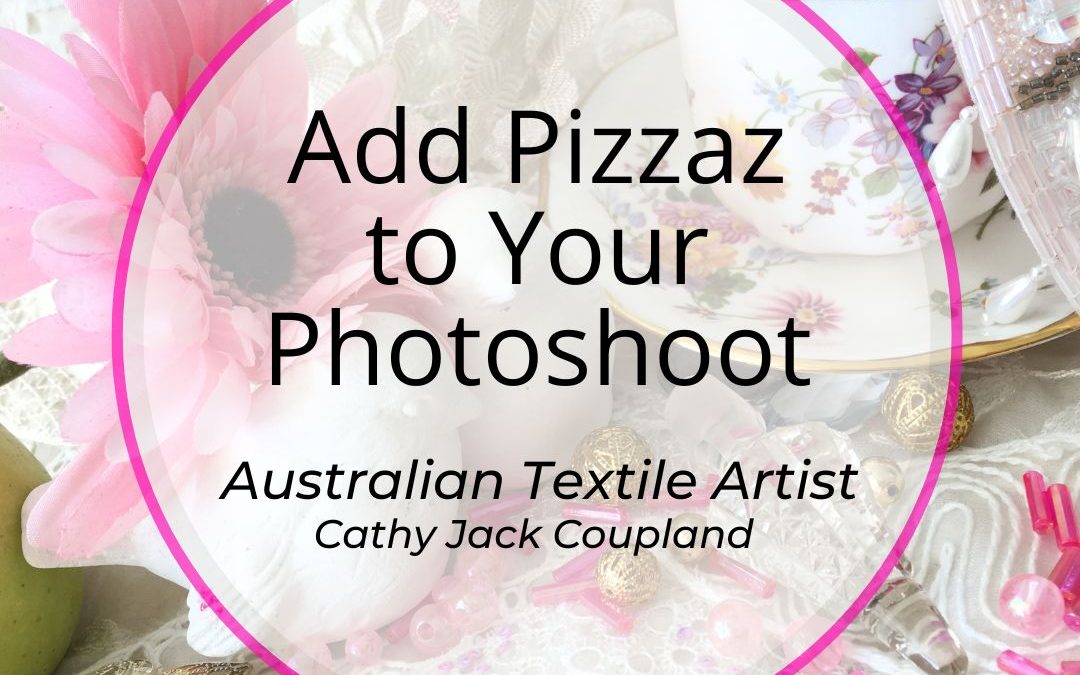
- work in a single colourway with metallic or pearl highlights – use beads, sequins, threads and beautiful china from your collection – the combinations can be visually and texturally stunning
- use some of your jewellery to highlight colours in the work, draping it elegantly over and across the embroidery – remember not to cover too much because we want that stitching to shine
- do you think bobbins, scissors and tape measures are boring – think again. Especially if they’re vintage or include deliciously coloured threads
- arrange small pieces of work together in a pleasing display and take images from directly above – but remember to take shots at unusual angles for even more interest
- do you have a favourite Christmas decoration or bauble – use it. I have two Christmas soldiers I love to include in photoshoots because they add a hint of whimsy showing my personality
- don’t forget your design work, pens, and markers, too. They can also be used in part with some appropriate props
- layout different embroideries with similar colour themes to mix textures for great photo results
- I’ve used perfume bottles, crystal stoppers, jewellery, silk scarves, faux fur, cushions, fruit, fabric flowers, shells and beautiful china from my collection – these elements arranged well add a sense of you the maker
- I’ve also worked with utilising glorious morning sunshine in some shots – giving highlights of intense, bright morning light along with beautiful soft shadows
- want to make the image look rich and elegant – use gold and pearls, winner, winner
- visual texture is important, especially in photography for embroidery, so play around with different textures in the image
- beautiful tea cups, plates, crystals and bowls are perfect additions to a photoshoot
- utilize those beautiful braids, lusciously coloured threads, fabrics and gorgeous beads – we work with them, so why not use them in your photos too?
- colour is one of the most important unifiers so bring out the colours of your embroideries
- think about the surface your work will be photographed on because that often becomes the background if you take shots from above – make them interesting, playful and inviting
- think of the colour for the backgrounds to make your work pop – go light or go dark – the results will be in the images
- newly purchased threads make great photo additions
- what about taking your work outside and photographing it in your garden?
- put your work on the Christmas tree for great imagery
- I often use colourful fabrics as the base or background for my shots – sometimes I lay it flat, sometimes I scrunch it up for added texture
- ensure you work with good lighting and make use of a photo editor to crop or apply filters
- take multiple images and choose only the best
Be thoughtful about styling embroidery for photography, utilising what you have at home to add your personality stamp to the imagery.
You’ve done the hard yards and created the work, now make your embroidery sing in your photoshoot.
Then share those wonderful images with the world.

All views and opinions expressed are my own, except where acknowledged information is included from other sources.